If you're someone who loves hands-on crafts and geeky hobbies, air dry clay sculpting is something you might want to try. It's a cheap-yet-fun way to express your ideas and creativity.
You don't need to be a pro to start air dry clay sculpting as a hobby, which can be used to craft whatever you want—even anime figures.
As long as your creative self keeps pumping ideas into your hands, you're fit to start making all kinds of air dry clay character figures for your collection—or even more practical things, like flower pots and vases.

What Is Air Dry Clay Sculpting?
Air dry clay sculpting is a hands-on visual art under the "sculpting" category. It's just like pottery, but instead of using mud or earth clay, we use a soft and malleable synthetic material that hardens by drying.
Normally, it uses the process of "modeling" or "molding"—where you shape, add, and combine materials to craft—rather than "carving" or any other method that subtracts material from a base.
But air dry clay sculpting is versatile, and there are several different techniques and styles you can use. If you want to carve or sand, you can do so and still come out with great results.
Don't confuse air dry clay sculpting with the more traditional modeling clay. While the procedure is similar—you knead, pull, and press to form a figure—ordinary modeling clay can be remodeled again and again, while air dry clay loses its malleability over time.
Air dry clay is closely related to polymer clay, with one important difference: you need to bake polymer clay figures in the oven to achieve hardening, while air dry clay cures for 24-48 hours and hardens.
Tools and Materials to Get Started
Air dry clay sculpting only needs a few basic materials, along with your craftiness and patience. Once molding is complete, it'll take roughly 3 days to harden (from your first knead to sealing).
1. Air Dry Clay
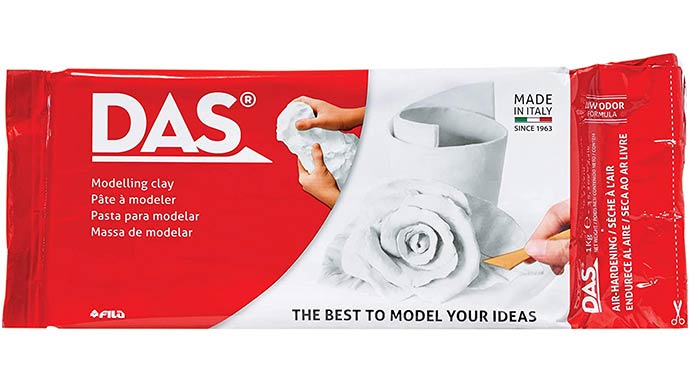
First, we need the base material, which is the air dry clay. Because of differences in manufacturers, air dry clay may look and feel different from brand to brand.
Some may be too soft or too stiff (but still malleable), while some may be too coarse or too fine. Regardless of the brand and its features, all air dry clay can be adequately molded and crafted into figures.
2. Metal Craft Wires
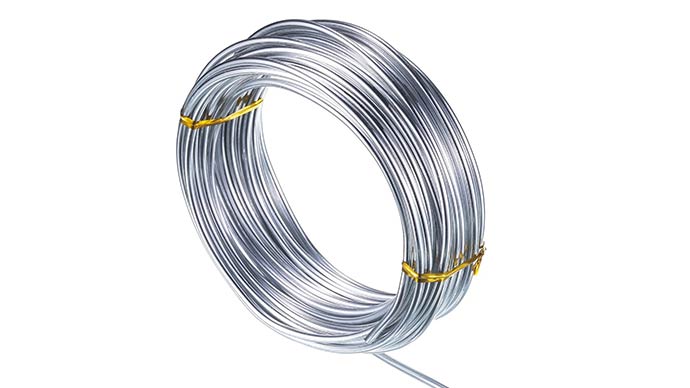
Some clay figures require an armature (or skeleton) as the foundation form of the figure. It adds stability to the figure so that it holds its shape and form all throughout the drying stage. You need to have a wire cutter on hand when you're working with a wire skeleton.
3. Clay Sculpting Tools
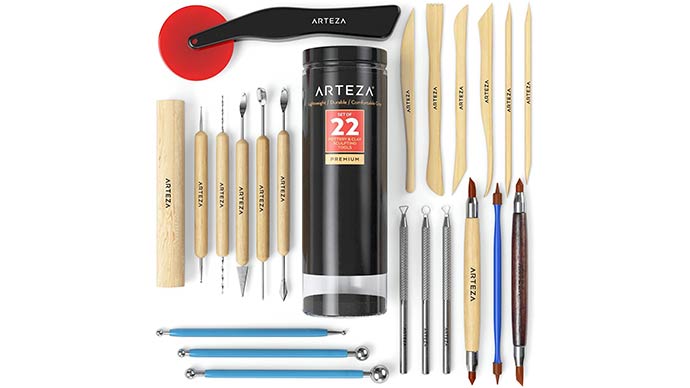
Sculpting tools are essential when working with any clay modeling. These are tools you can use to poke holes, draw designs, remove chunks, and even imprint details that can't be done with only your hands.
As mentioned earlier, working with air dry clay is not limited to the "modeling" method. You can use these tools to carve a block of clay while it's still soft and formative.
4. Cordless Rotary Tool

Once the clay hardens, it becomes near impossible to make any changes—if you want to continue carving or cutting, think twice. However, you can use a lightweight cordless rotary tool to make finishing touches, like sanding away rough edges or engraving finer details.
5. Acrylic Paint
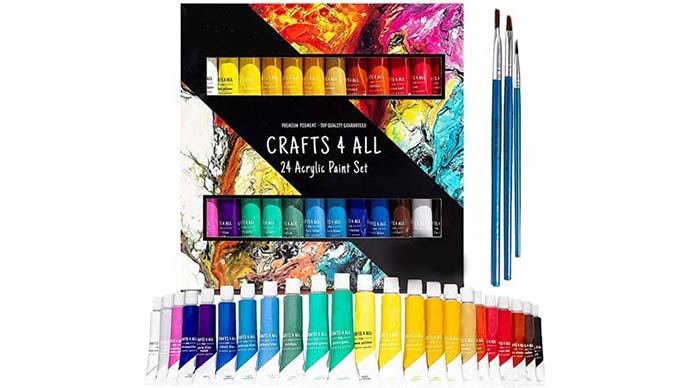
Clay figures and objects are lifeless without color. You will need some acrylic paints to bring out the best of anything you make. It's best to do the painting after the curing is finished (about 24-48 hours) and after you've smoothened out rough edges or surfaces.
6. Acrylic Sealer
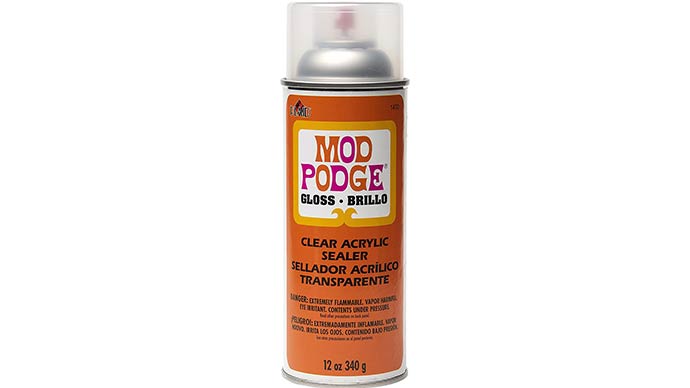
After you have smoothened and colored the project, and once you are satisfied with your finished work, the last thing you need to do is seal it. Sealing the clay figure makes it waterproof and gives it a glossy finish.
Though some acrylic paints have their own glossy properties, the main purpose of the sealer is to protect it from moisture, so make sure that every corner of the figure is adequately covered.
While liquid epoxy is the "best" sealant to use, we don't recommended it for beginners because it's toxic and difficult to work with.
Starting Your First Air Dry Clay Craft
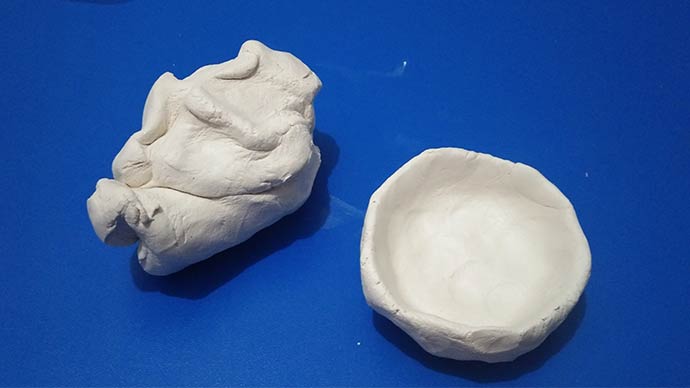
At first, you may just want to play around with a bit of clay in your hands, to get used to the properties and what it feels like to handle.
After that, try molding the clay into specific shapes. Try forming basic cups and saucers, and experiment with the clay sculpting tools at your disposal. The beginning is all about learning to familiarize yourself.
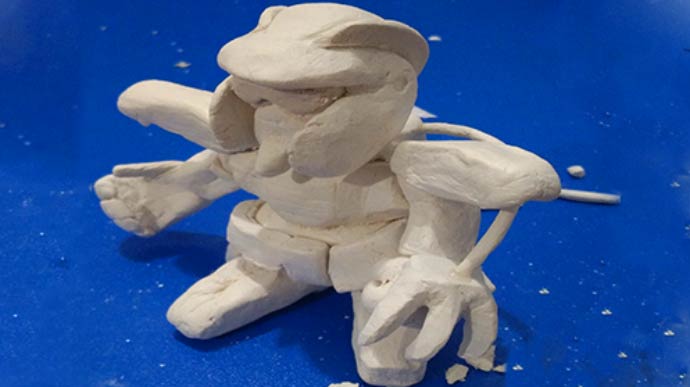
When you're ready to try making something proper, consider making a model of one of your favorite characters—whether from a movie, TV show, anime series, video game, or whatever else.

Practice makes perfect. Don't get frustrated if your first undried craft looks more like a haunted mess or creepy voodoo doll. If you're having difficulty, try an easier character—like Togepi or Ditto from Pokemon.
With enough practice and experience, you'll eventually be able to craft even an intricate Gundam figure from the Mobile Suit Gundam series.
Don't want to do action figures? Here are some more ideas to try: earrings, keychains, pendants, pet name tags, souvenirs for weddings and birthdays, planters for houseplants, or Christmas ornaments!