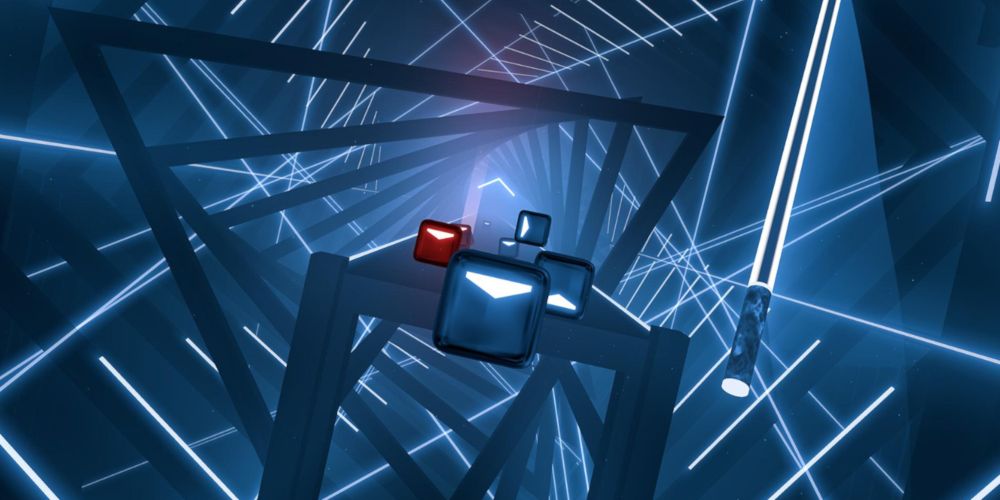
As I mentioned in my review of Beat Saber on Oculus Quest, the only reason why I gave it an A grade instead of a D grade is the fact that you can install beatmaps for custom songs through a process called sideloading.
It's completely free and, as far as we know at this time, it's allowed by Oculus so you won't get in trouble.
This used to be a huge pain in the neck when the Oculus Quest first released, but thanks to the hard work put in by the team behind SideQuest (including @shaneharris, @atechadventurer, @srvrguy) and the genius behind BeatOn (@emulator), the process has become super simple!
Want to get even more value out of Beat Saber? Here are step-by-step instructions on how to find, download, install, and play custom songs in Beat Saber on Oculus Quest.
You're Going to Need SideQuest
Starting with version 0.5.0, SideQuest comes with BeatOn included. This wonderful tool will handle all of the magic for us behind the scenes. But for this guide, you'll want to download SideQuest v0.6.0 or later.
If you don't have SideQuest yet, hop over to our guide to sideloading apps on Oculus Quest with SideQuest.
That will walk you through every step, including what SideQuest is, whether SideQuest is safe or not, and how to get it set up properly with your Oculus Quest. It's very simple and straightforward, so don't be discouraged!
Where to Download Custom Beat Saber Songs
There are two important Beat Saber sites to know about.
1. Beat Saver: An online repository where anyone can upload their custom beatmaps to share with other Beat Saber players. The interface is a bit primitive so I don't like to use this site very much, but it's the best place to go if you want to stay up-to-date on the freshest tracks.
2. Beast Saber: A curation and review site that mirrors most of the beatmaps uploaded to Beat Saver. For best results, stick to the curated beatmaps and the beatmaps that are well-reviewed by the community.
I recommend using Beast Saber.
The good thing is, both sites are accessible directly within SideQuest—and starting with SideQuest version 0.6.0, you can install songs straight from Beast Saber right within the app. This makes custom song management much easier than it was in the past, so take advantage of it!
How to Install Custom Beat Saber Songs on Oculus Quest
Launch SideQuest and connect your computer to your Oculus Quest headset. (Not sure how to do this? See our guide to using SideQuest with Oculus Quest.) First, let's set up BeatOn.
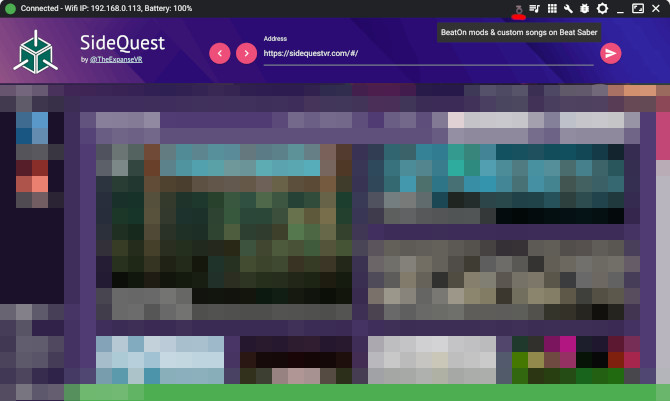
At the top-right of SideQuest, in the title bar, click on BeatOn:
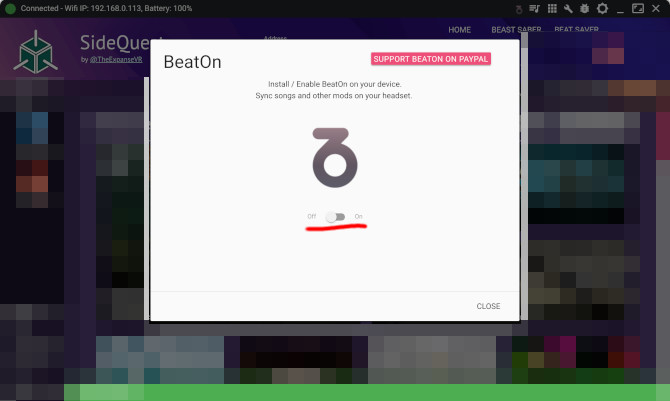
Click the toggle from Off to On, then Install BeatOn:
After BeatOn is installed, click on Beast Saber above the address bar:
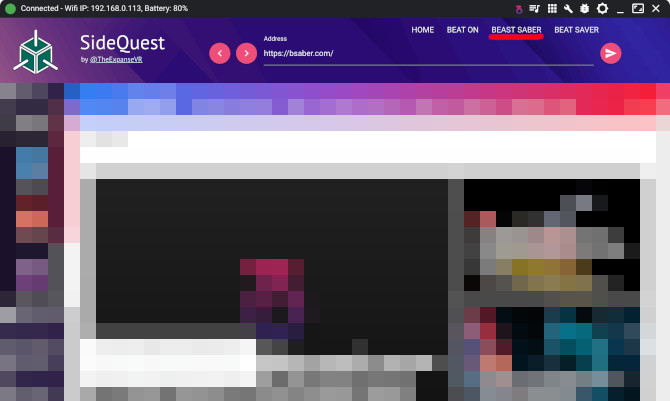
From here, you can click on Songs in the navigation menu to look for custom songs you want to install.
The first thing I recommend doing is switching to the Top view from All time, and going through page by page. When you come across a song you're interested in, all you have to do is click the down arrow icon which is labelled "Download a zip file from Beat Saver!" when you hover over it:
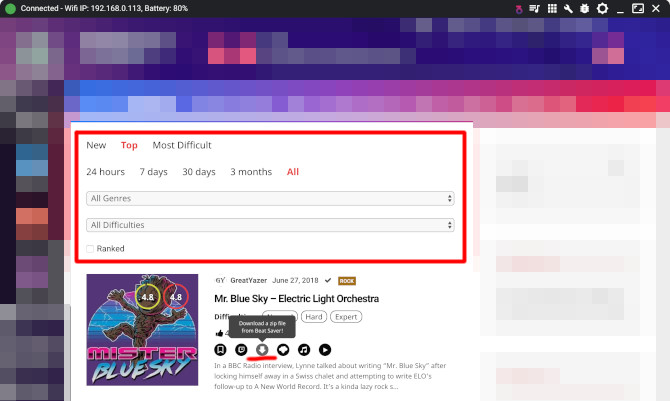
Doing this from within SideQuest will automatically install the song to BeatOn. Once you've satisfactorily downloaded your first batch of custom Beat Saber songs, click on Beat On above the address bar:
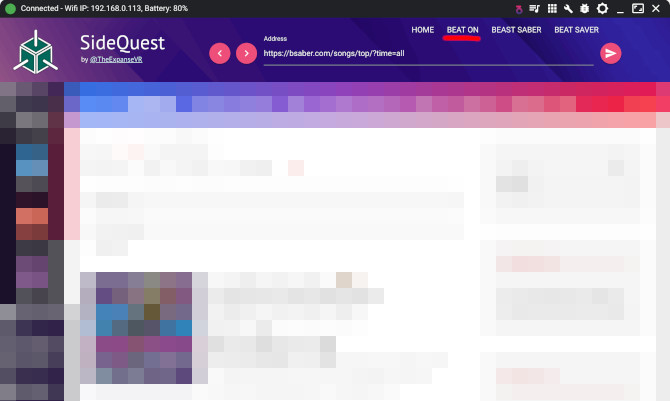
From here, click the Playlists tab. Under "Custom Songs," you should see all of the custom beatmaps you installed from Beast Saber.
At this point, you can organize them into custom playlists (using the left panel), but you don't have to. You can always organize them later when your custom songs collection grows bigger than you can manage.
For now, look for the flashing red button called Sync to Beat Saber. Click it and don't close SideQuest or disconnect your Oculus Quest while it's syncing, or else it may cause issues with your Beat Saber app.
If something does go wrong, you can always reinstall Beat Saber. Not a big deal.
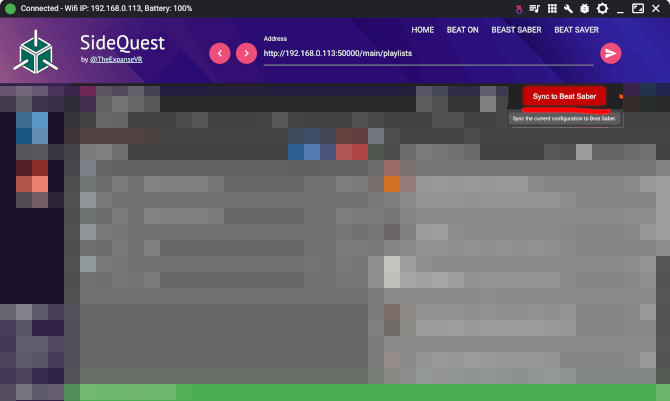
When it finishes, you can close SideQuest and disconnect your Oculus Quest from your computer, then load up Beat Saber per usual. You should see the custom beatmaps under the "Custom Songs" playlist in game.
Congrats! You've successfully installed custom songs on Beat Saber.
How to Delete Custom Beat Saber Songs on Oculus Quest
In SideQuest, launch BeatOn and look for the beatmap you don't want anymore. Click the X next to it. Then click the flashing red Sync to Beat Saber button.
Done!
If you have any questions, let me know in the comments and I'll do my best to help. I also recommend grabbing some Oculus Quest grip covers to help prevent the battery covers from slipping off during intense songs. Happy beat-sabering!
