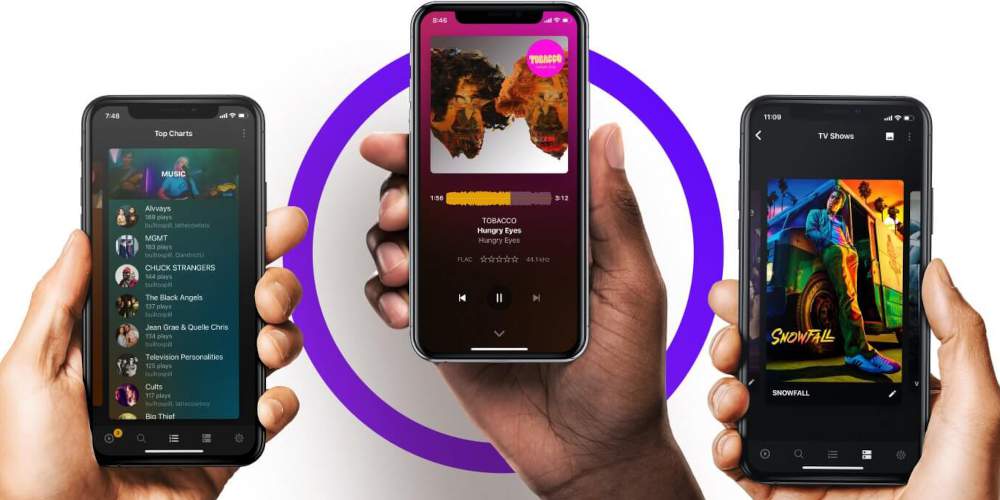
Streaming services like Spotify are extremely convenient, but you may be against the idea of paying a monthly fee to listen to music (or dealing with ads and missing features on a free plan).
This is especially true if you've already been buying digital music for years and have built up a huge collection of your own.
Wouldn't it be great if you could take the music you already own and create your own private streaming service with it?
Well, you actually can! It'll take a bit of work to set up, but with a Plex server running on your computer and the Plexamp app, you can stream your own music library wherever you go. In essence, Plexamp lets you create your own private Spotify-like music streaming service!
What Is Plexamp? Explained
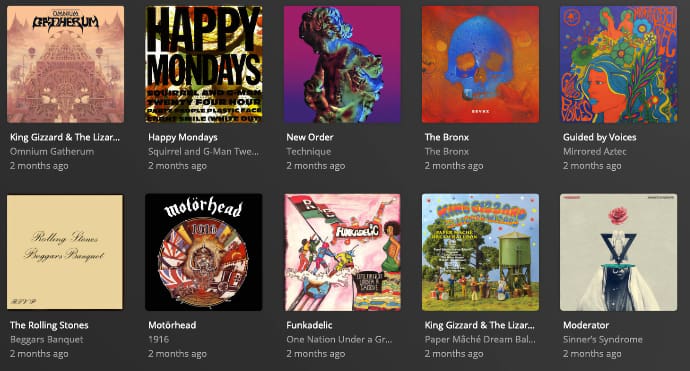
Plexamp is a music player app for Android, iOS, Windows, macOS, and Linux—but to call it just a music player app would be doing it a disservice.
Not only does Plexamp have a beautiful interface that shows either album art or music visualizers as you're listening, it also boasts features like gapless playback, loudness leveling, and parametric equalizer.
Unlike most music player apps, Plexamp doesn't use a simple library of local music files. Instead, it connects to Plex Media Server (which needs to be running on an internet-connected device in your home).
This means you can have all your music on your computer and you can stream that music anywhere you go using Plexamp. Plex Media Server can also stream movies and TV shows, but we're not going to cover that aspect in this article.
Plexamp will synchronize your playlists, ratings, and more so that your streaming experience stays consistent even as you switch between devices. It even has smart playlist features similar to those you'd see in Spotify or Apple Music.
What's the catch? Plexamp is only available to those who have an active Plex Pass subscription, which costs $5 per month. While that isn't as good as free, it's cheaper than any premium music streaming service—and you have all the flexibility in the world with it.
Step 1: Setting Up Plex Media Server
As mentioned above, you'll need a computer running Plex Media Server before you can use Plexamp.
If you already use Plex extensively, you probably already have a Plex Media Server set up and running. In that case, you can skip ahead. For this article, we're going to assume you don't.
Plex Media Server runs on Windows, macOS, Linux, FreeBSD, as well as a number of NAS platforms. Head to the Plex Media Server download page and download the installer for your operating system.
Run the installer to install Plex Media Server. This is as straightforward as any other software installation—simply follow the installer prompts until the installation is complete.
Once complete, the installer will automatically launch the Plex Media Server software on your computer and open a browser window to let you access and configure your Plex Media Server.
Step 2: Setting Up Your Music Library
Now that Plex Media Server is running on your computer, it's time to add your music library to the server's configuration.
To do this, click the three horizontal line icon on the side of the screen to expand the sidebar. At the top, you should see your server. Hover your mouse over the server name, then click the plus button next to it.
On the Add Library pop-up window, you'll see several options. Click Music, choose a name for this music library, then click Next.
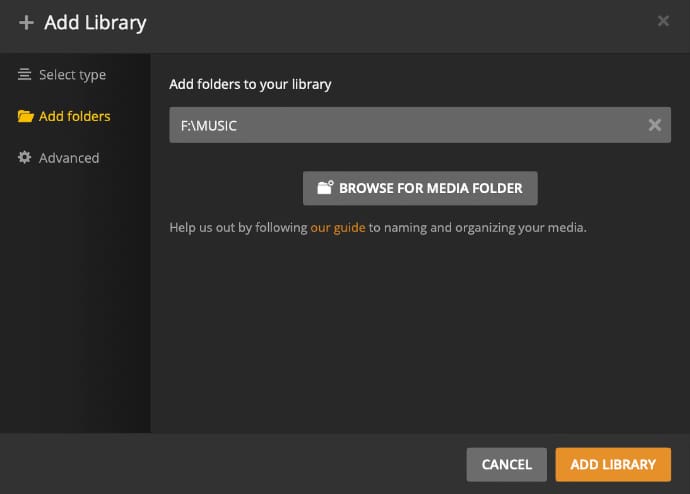
Now click the Browse for Media Folder button to locate your music folder. If you have music across separate folders, no worries—you can add multiple folders here. You can also import different folders as individual libraries if you prefer to keep them separate.
Once you've finished adding your music folders, click the Add Library button to complete your music library setup.
Plex Media Server will need some time to scan, index, and catalog your music library, so don't be alarmed if everything isn't immediately available for streaming. Depending on how large your music collection is, this could take anywhere from several minutes to a few hours.
Note: If you're a Tidal subscriber, you can also add your Tidal account and access it as part of your music library. However, Tidal Playlists won't sync with your Plexamp playlists, and there may be some other issues.
Step 3: Using Plexamp
Once you've finished setting up your music library, you're ready to start using Plexamp to stream your music!
To install Plexamp on your phone, you can download it straight from the App Store (iPhone) or Google Play Store (Android). To install Plexamp on Windows, macOS, or Linux, go to the Plexamp downloads page.
After installing Plexamp, launch the app and sign in with your Plex account. The first time you run the app, it will ask which server you want to use as a music source. Select the one we set up earlier. (If you have multiple servers, you can switch between them in Settings.)
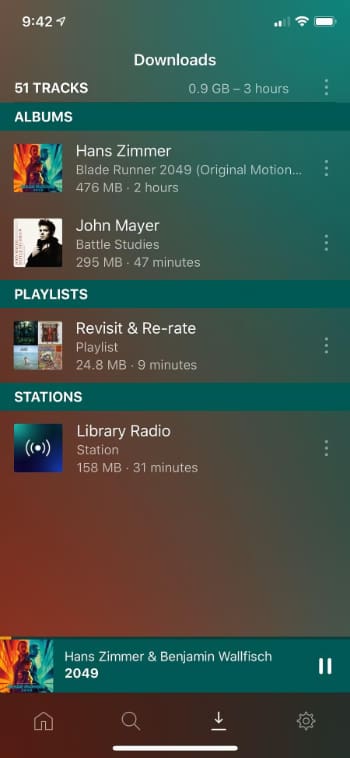
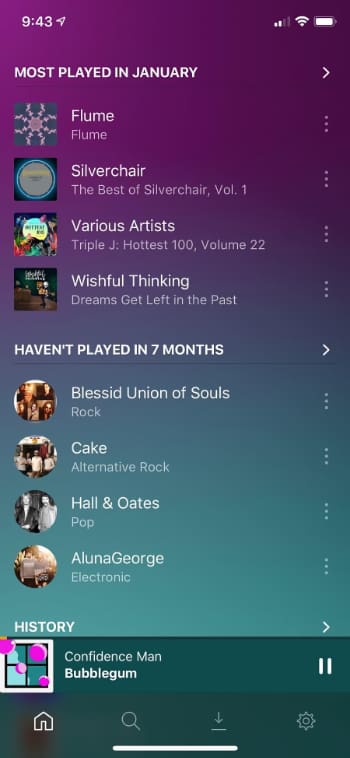
On the app's main screen, you'll see your most recently added music, recent playlists, and a variety of "Stations" that Plexamp automatically builds from your music library.
If you want to listen to everything in your collection, you can select Library Radio. If you're in the mood for something older, you can choose Time Travel Radio. Plexamp has lots of features like this that'll keep your listening experience fresh every time.
As you use Plexamp, it will continue to generate smarter playlists. For example, if you frequently rate songs, you'll eventually get a smart playlist of songs you've rated four stars or higher.
Some of these features existed in iTunes years ago, but with features like Stations, Plexamp feels as close as possible to a music streaming service that's individually built just for you.
